Makes 2 x 10 inch Pizzas
Ingredients
- 135ml (1/4 pint) luke warm water
- 1 heaped tsp dried yeast
- 1flat tsp sugar
- 200g Gilchesters Pizza & Ciabatta flour
- 1 heaped tsp sea salt
- 1 dessert spoon olive oil
Method
For the yeast starter
Put the 3 ingredients into a sturdy glass and stir well with a teaspoon until dissolved. Place in a warm area of the kitchen and set aside for 30 mins until a later of froth form on top like cappuccino. (do this to check yeast has life in it).
For the dough starter
Place the flour in a high sided bowl, add the yeast starter and stir together using a silicone spatula to ensure everything is combined and you have no lumps or unmixed dough.
Leave the batter in a warm place in the kitchen covering with a cloth or plate until you see a 50% rise in the mix (approx 2 hours).
For the Dough
Add half the remaining flour and salt to your risen starter and fold with a spatula until the ingredients have combined together – with a little flour around the bowl remaining.
Turn the dough out (and any remaining flour) onto a cold work surface and bring the dough together until you have combined the flour and salt and you have a smooth dough throughout. Intermittently use some of the remaining flour in your glass to sprinkle on the dough to stop it sticking and bring the dough together so not too wet. This should form a dough ball which is easy to handle, soft but well mixed together.
Place the dessert spoon of olive oil in your bowl, add the dough ball and cover the surface with the oil, place a lid or tea towel over the dough and rest for 1-2 hours.
Kneading & Proving
Take the oiled dough ball from he bowl and cut into 2 parts
Sprinkle a little flour onto a could surface and stretch each dough ball by bringing the dough together , pushing forward through the dough, turn the dough 90 degrees, fold the dough over in half to bring the dough together again. Do this again a maximum of 16 times (turning the dough 360 degrees, 4 times).
Note: The oil on the dough ball will initially help prevent the dough sticking to your hands. The dough has now been worked enough to strengthen the gluten strands which provides the structure to hold the air and create the bubbles when cooking.
Finally dust each ball lightly with flour and place onto a tray and cover calling a minimum of 1 hour ( in a warm environment) to a maximum of 24 hours (in a fridge) to prove and let the flavours develop. The longer the prove the more distinct the flavour in the dough.
Shaping
Take the dough ball from the tray and dust with flour or semolina (which I prefer for a crispier crust) and place onto a smooth cool surface.
Treating the dough ball gently to retain structure, place ball onto a counter and gently outwardly flatten with the dry palm of your hand turning through 90 degrees after each press and stretch. Keep the dough ball lightly dusted and when you have a rough flatfish dough ball (the size of a saucer) continue to turn and roll using a rolling pin or your hands.
If I am turning and stretching with my hands I will keep a 2 cm frame of puffy dough around the disc by using evenly out from the middle. If I am using a rolling pin this will be a little more difficult but in both counts, try to avoid over working the outer rim of the dough ball.
Cooking
Take a 12 inch heavy bottomed frying pan and place on a hob at the highest heat. Take your rolled out pizza disc and place it in the pan. Leave naked for no longer than 1 minute to cook the base through. Note – you will start to see some rising of the dough across the whole disc.
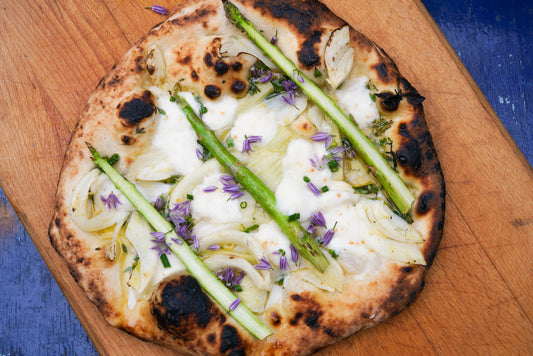
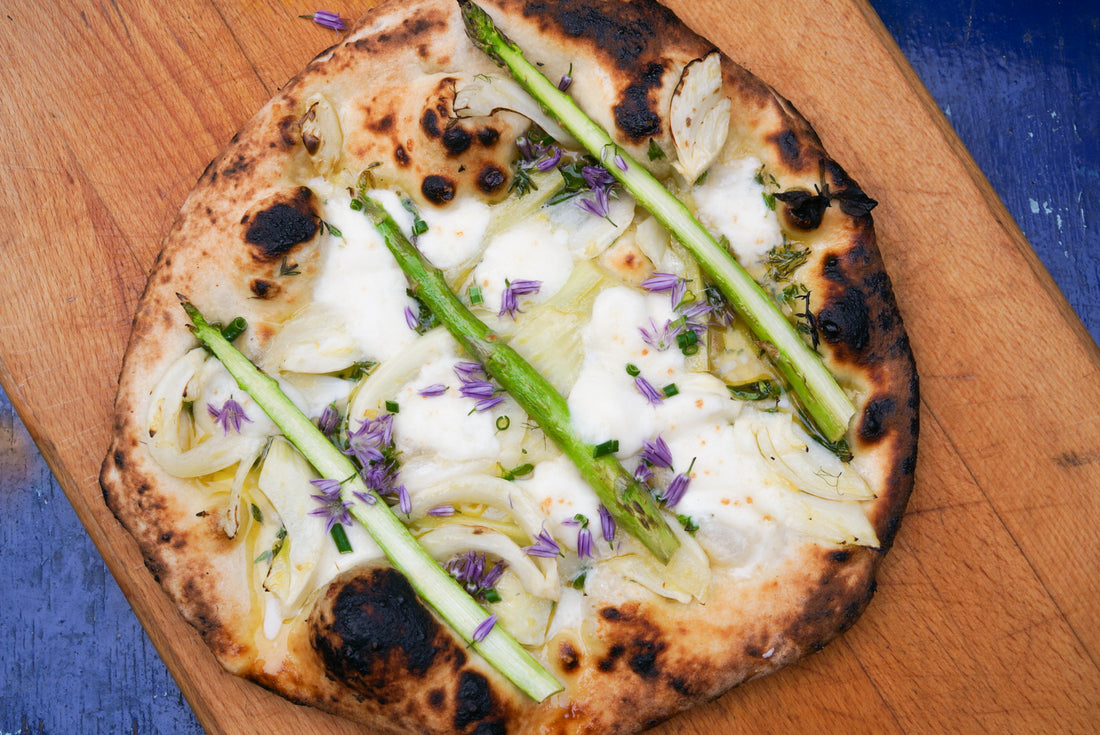
Add your sauce and choice of toppings. Don’t overload your pizza as it will hinder the cooking of your dough.
Check the base of your pizza using a spatula to check it is nicely browned.
Now place on the top shelf under your grill at its highest setting to cook the toppings and melt the cheese.
Keep checking until you have a nice bubbly top to your pizza. Do not place any delicate ingredients such s basil leaves on top as these will burn under the drill.
When cooked place your pizza on a wooden board, slice and enjoy!